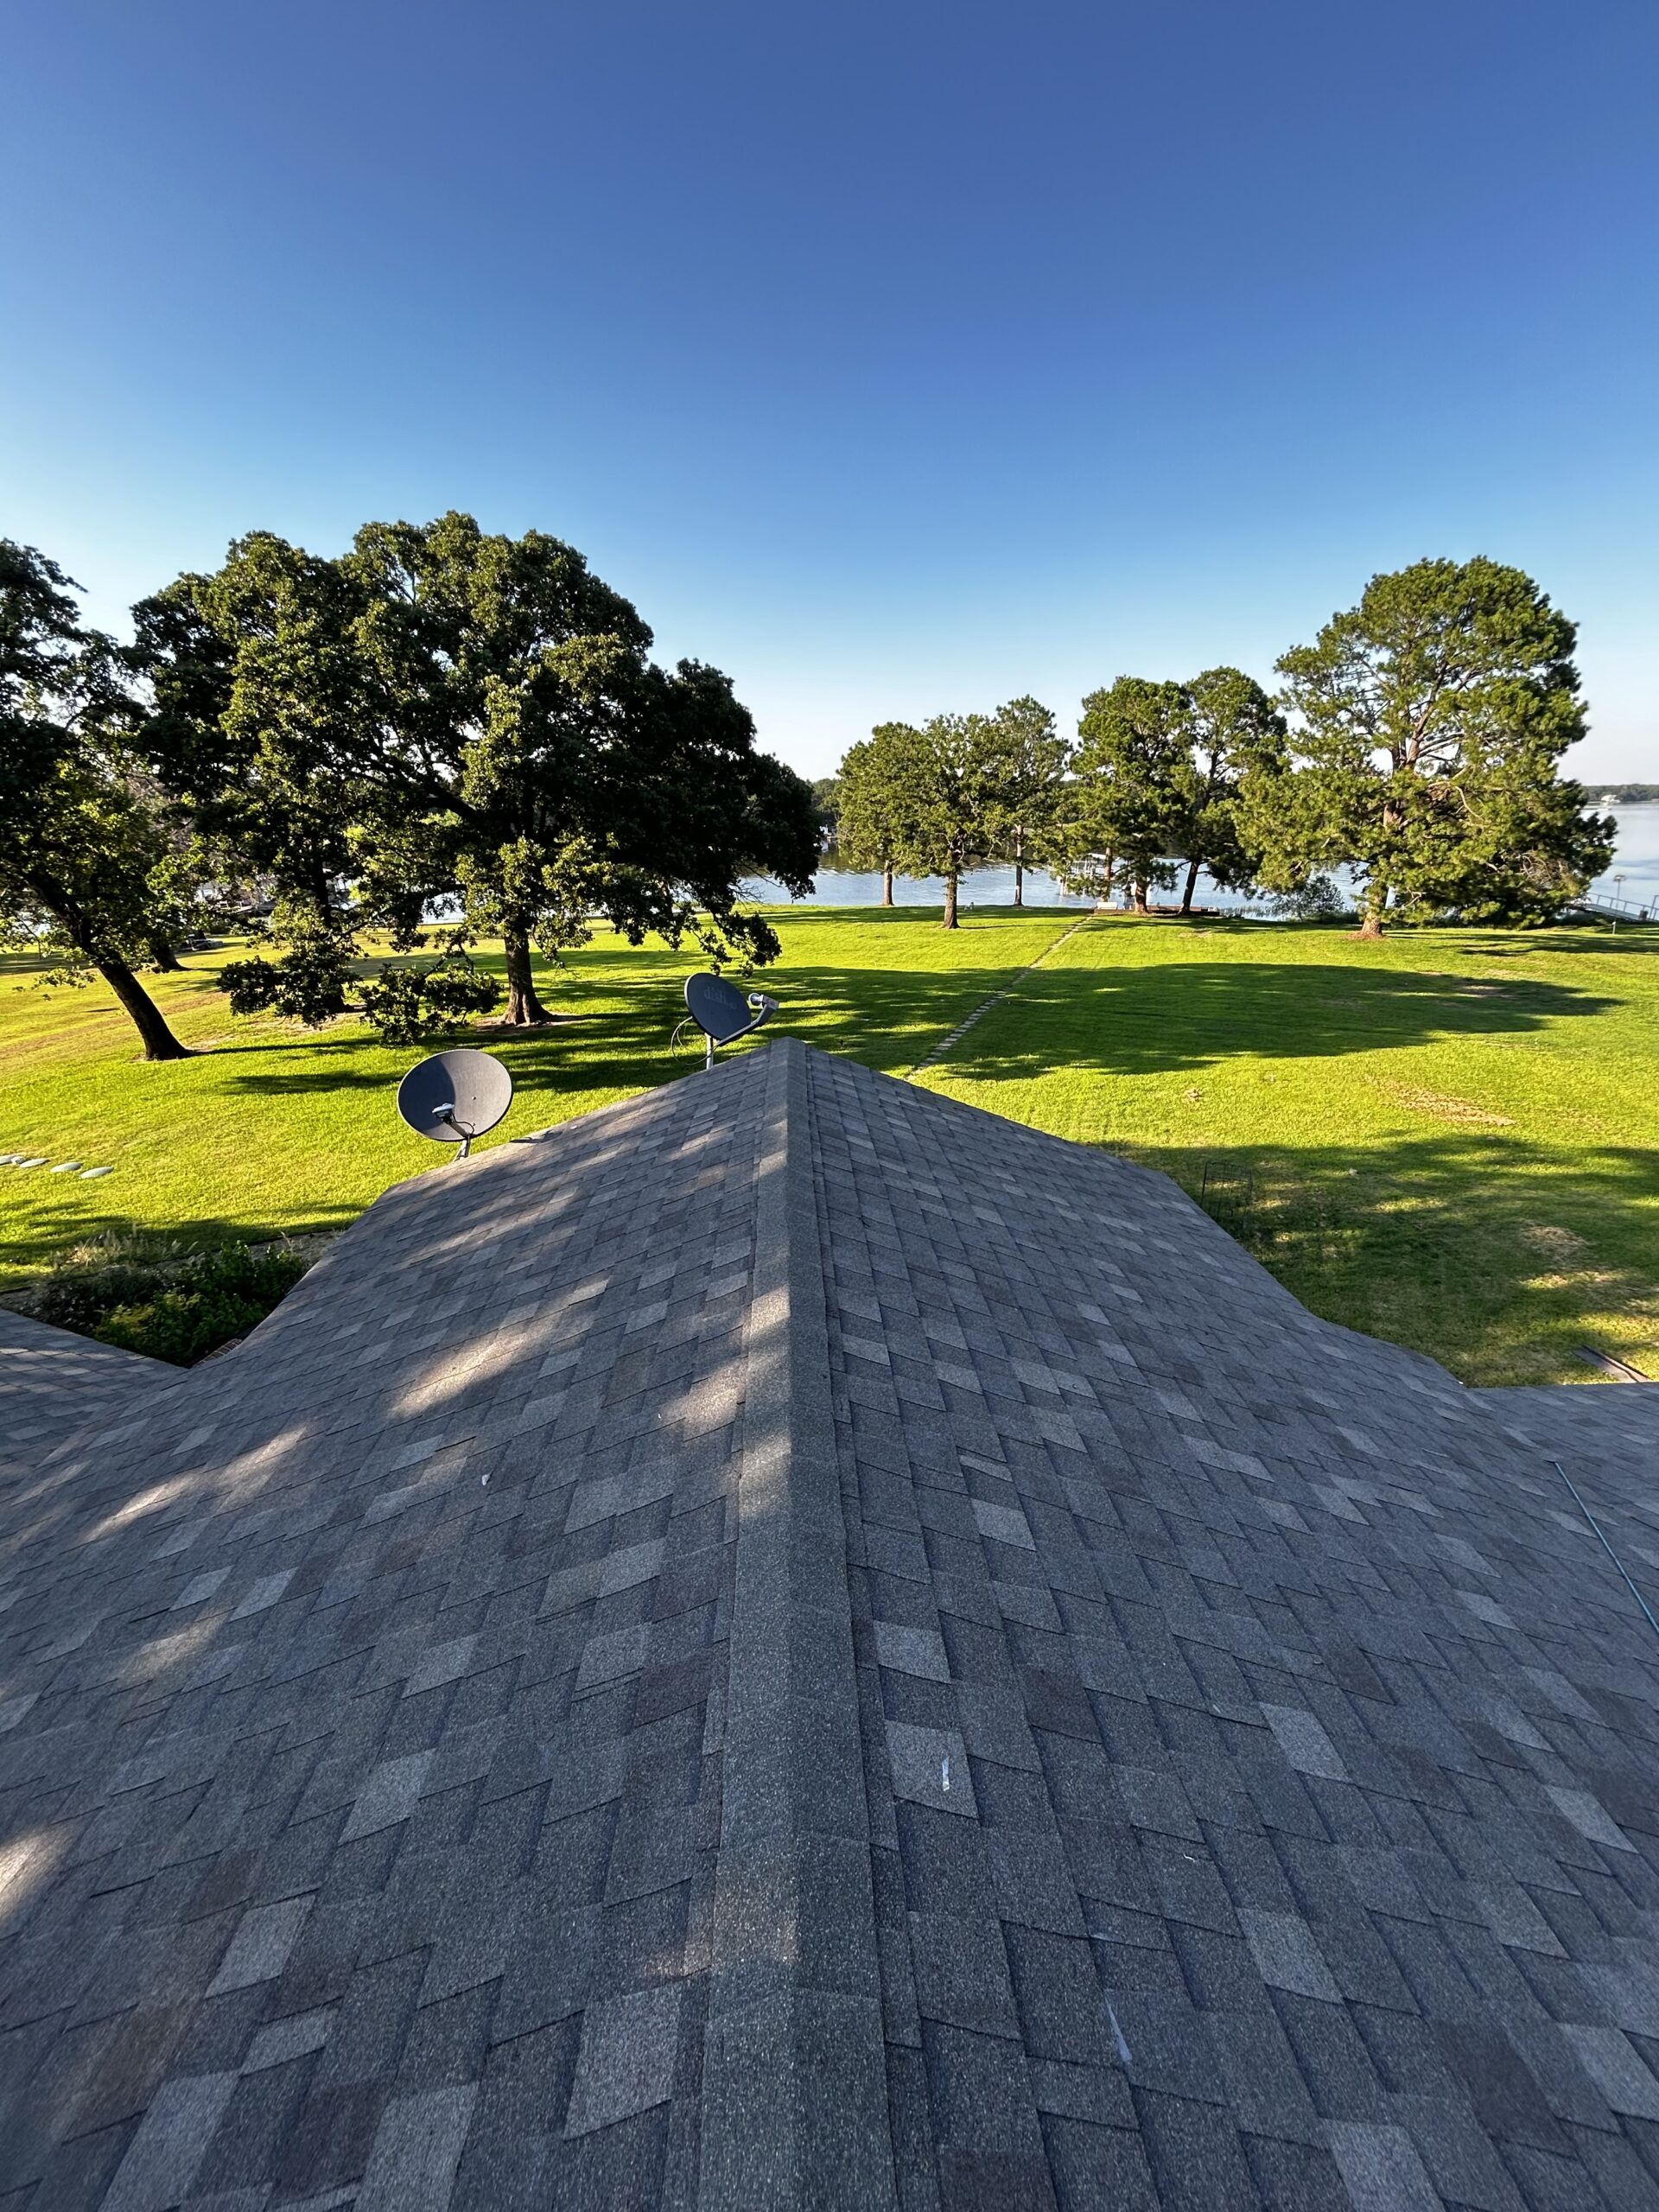
Roof Replacement
How it Works
Experience next level custom service from start to finish
#1 “Inspection and Assessment”
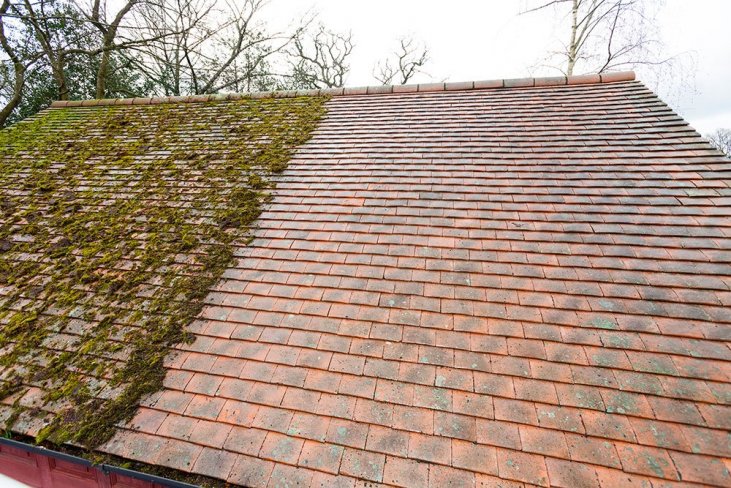
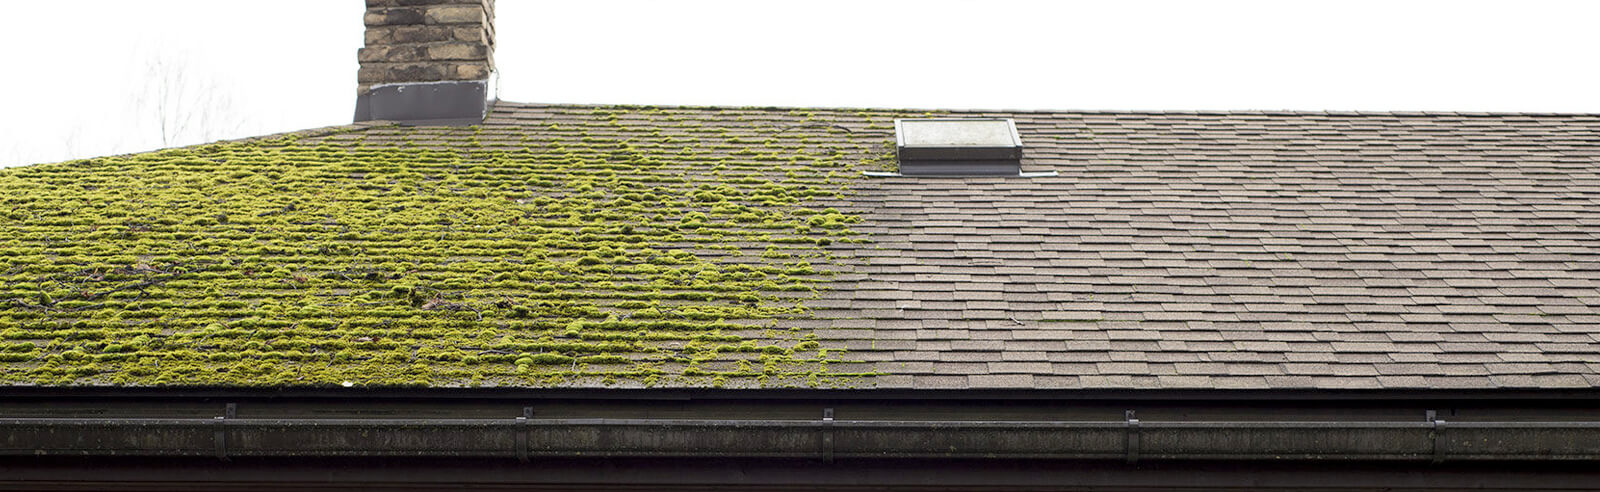
With roofing Owl we first inspect the roof to identify the extent of the damage. This includes checking for: - Missing, cracked, or curling shingles - Leaks and water damage inside the home - Sagging or weak areas - Moss or mold growth - Flashing and vent damage After the inspection, the roofer provides a repair estimate, outlining the materials and labor required.
#2 “Preparing for the Repair”
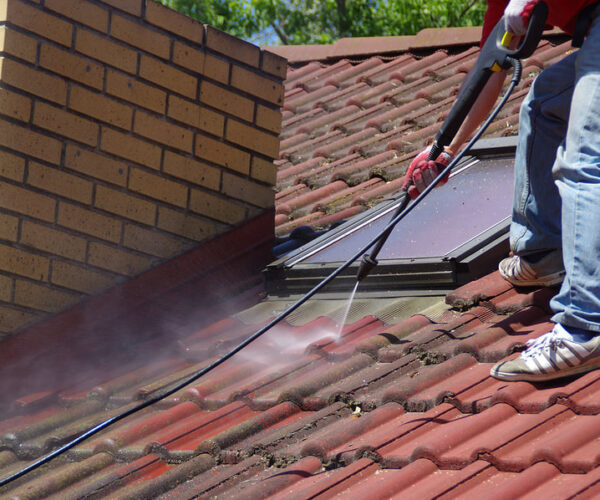
Before repairs begin, the work area is prepared to ensure safety and efficiency. This includes: - Clearing debris from the roof - Setting up ladders and safety equipment - Covering landscaping or outdoor furniture if needed.
#3 “Protecting Property”
Tarps are placed over landscaping, windows, and exterior walls to catch debris. A dumpster is brought in if necessary and any excess debris is removed at a later time.
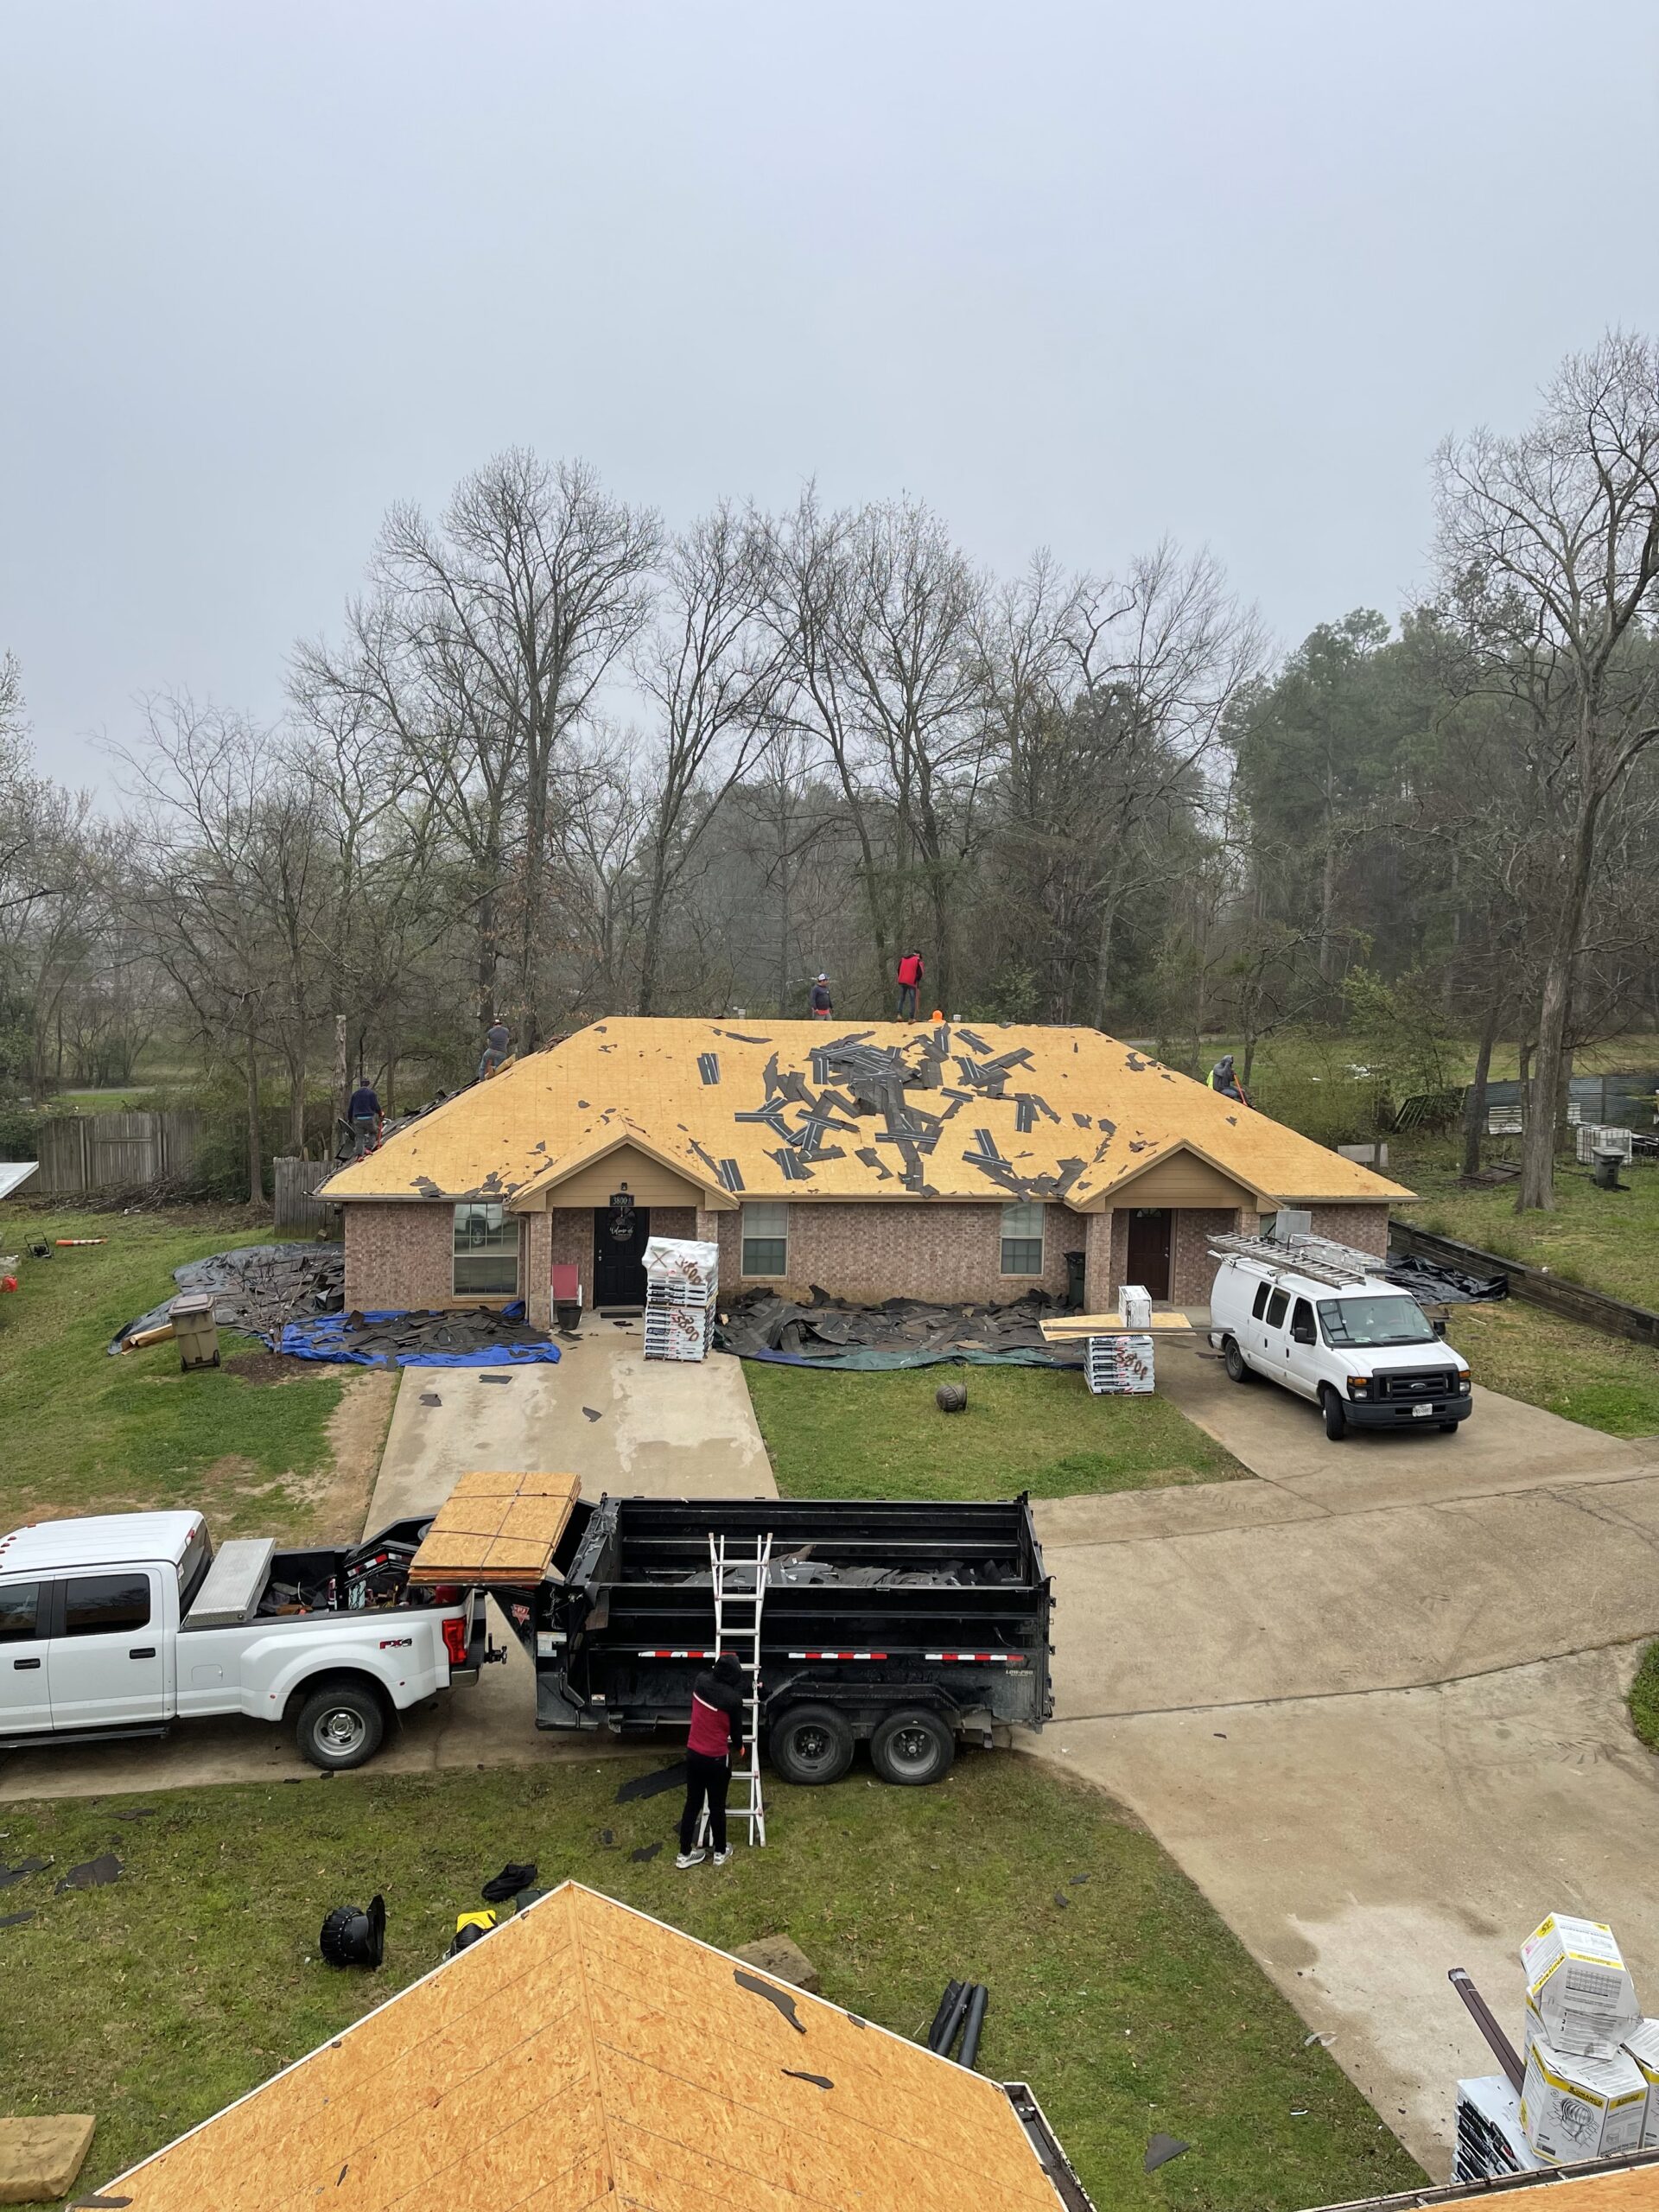
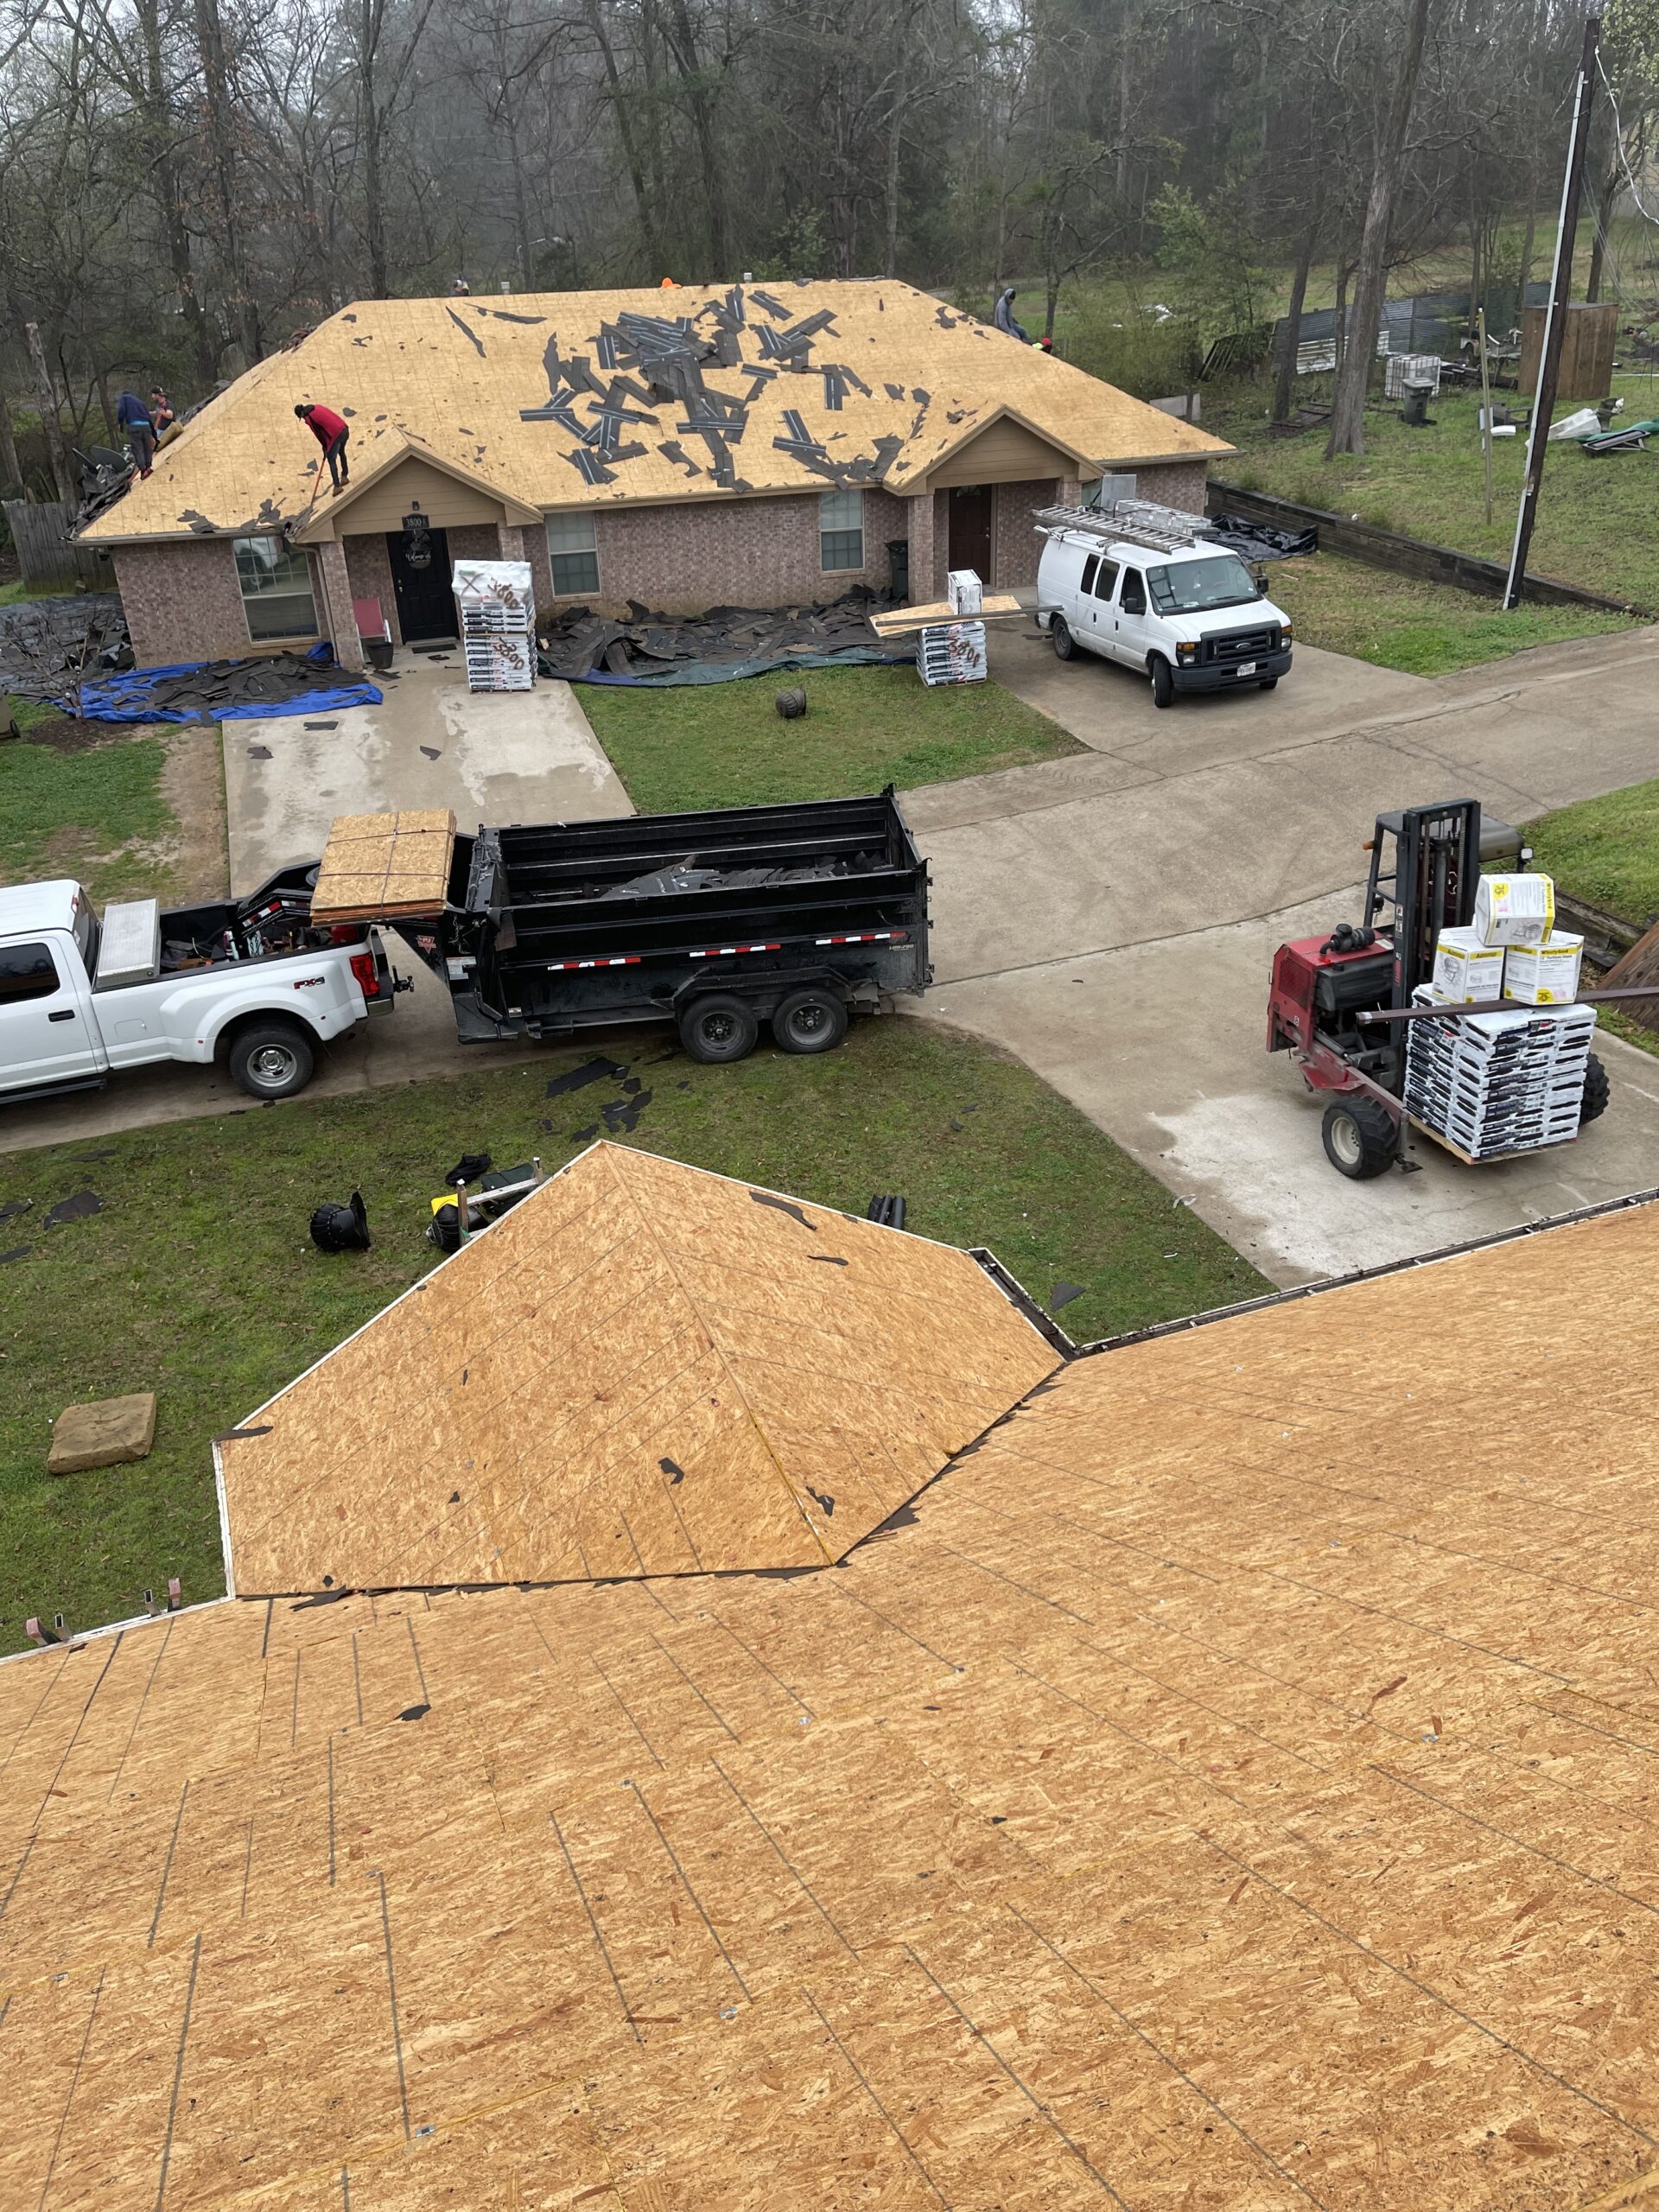
#4 "Delivery of Materials"
Roofing materials, including shingles, underlayment, and flashing, are
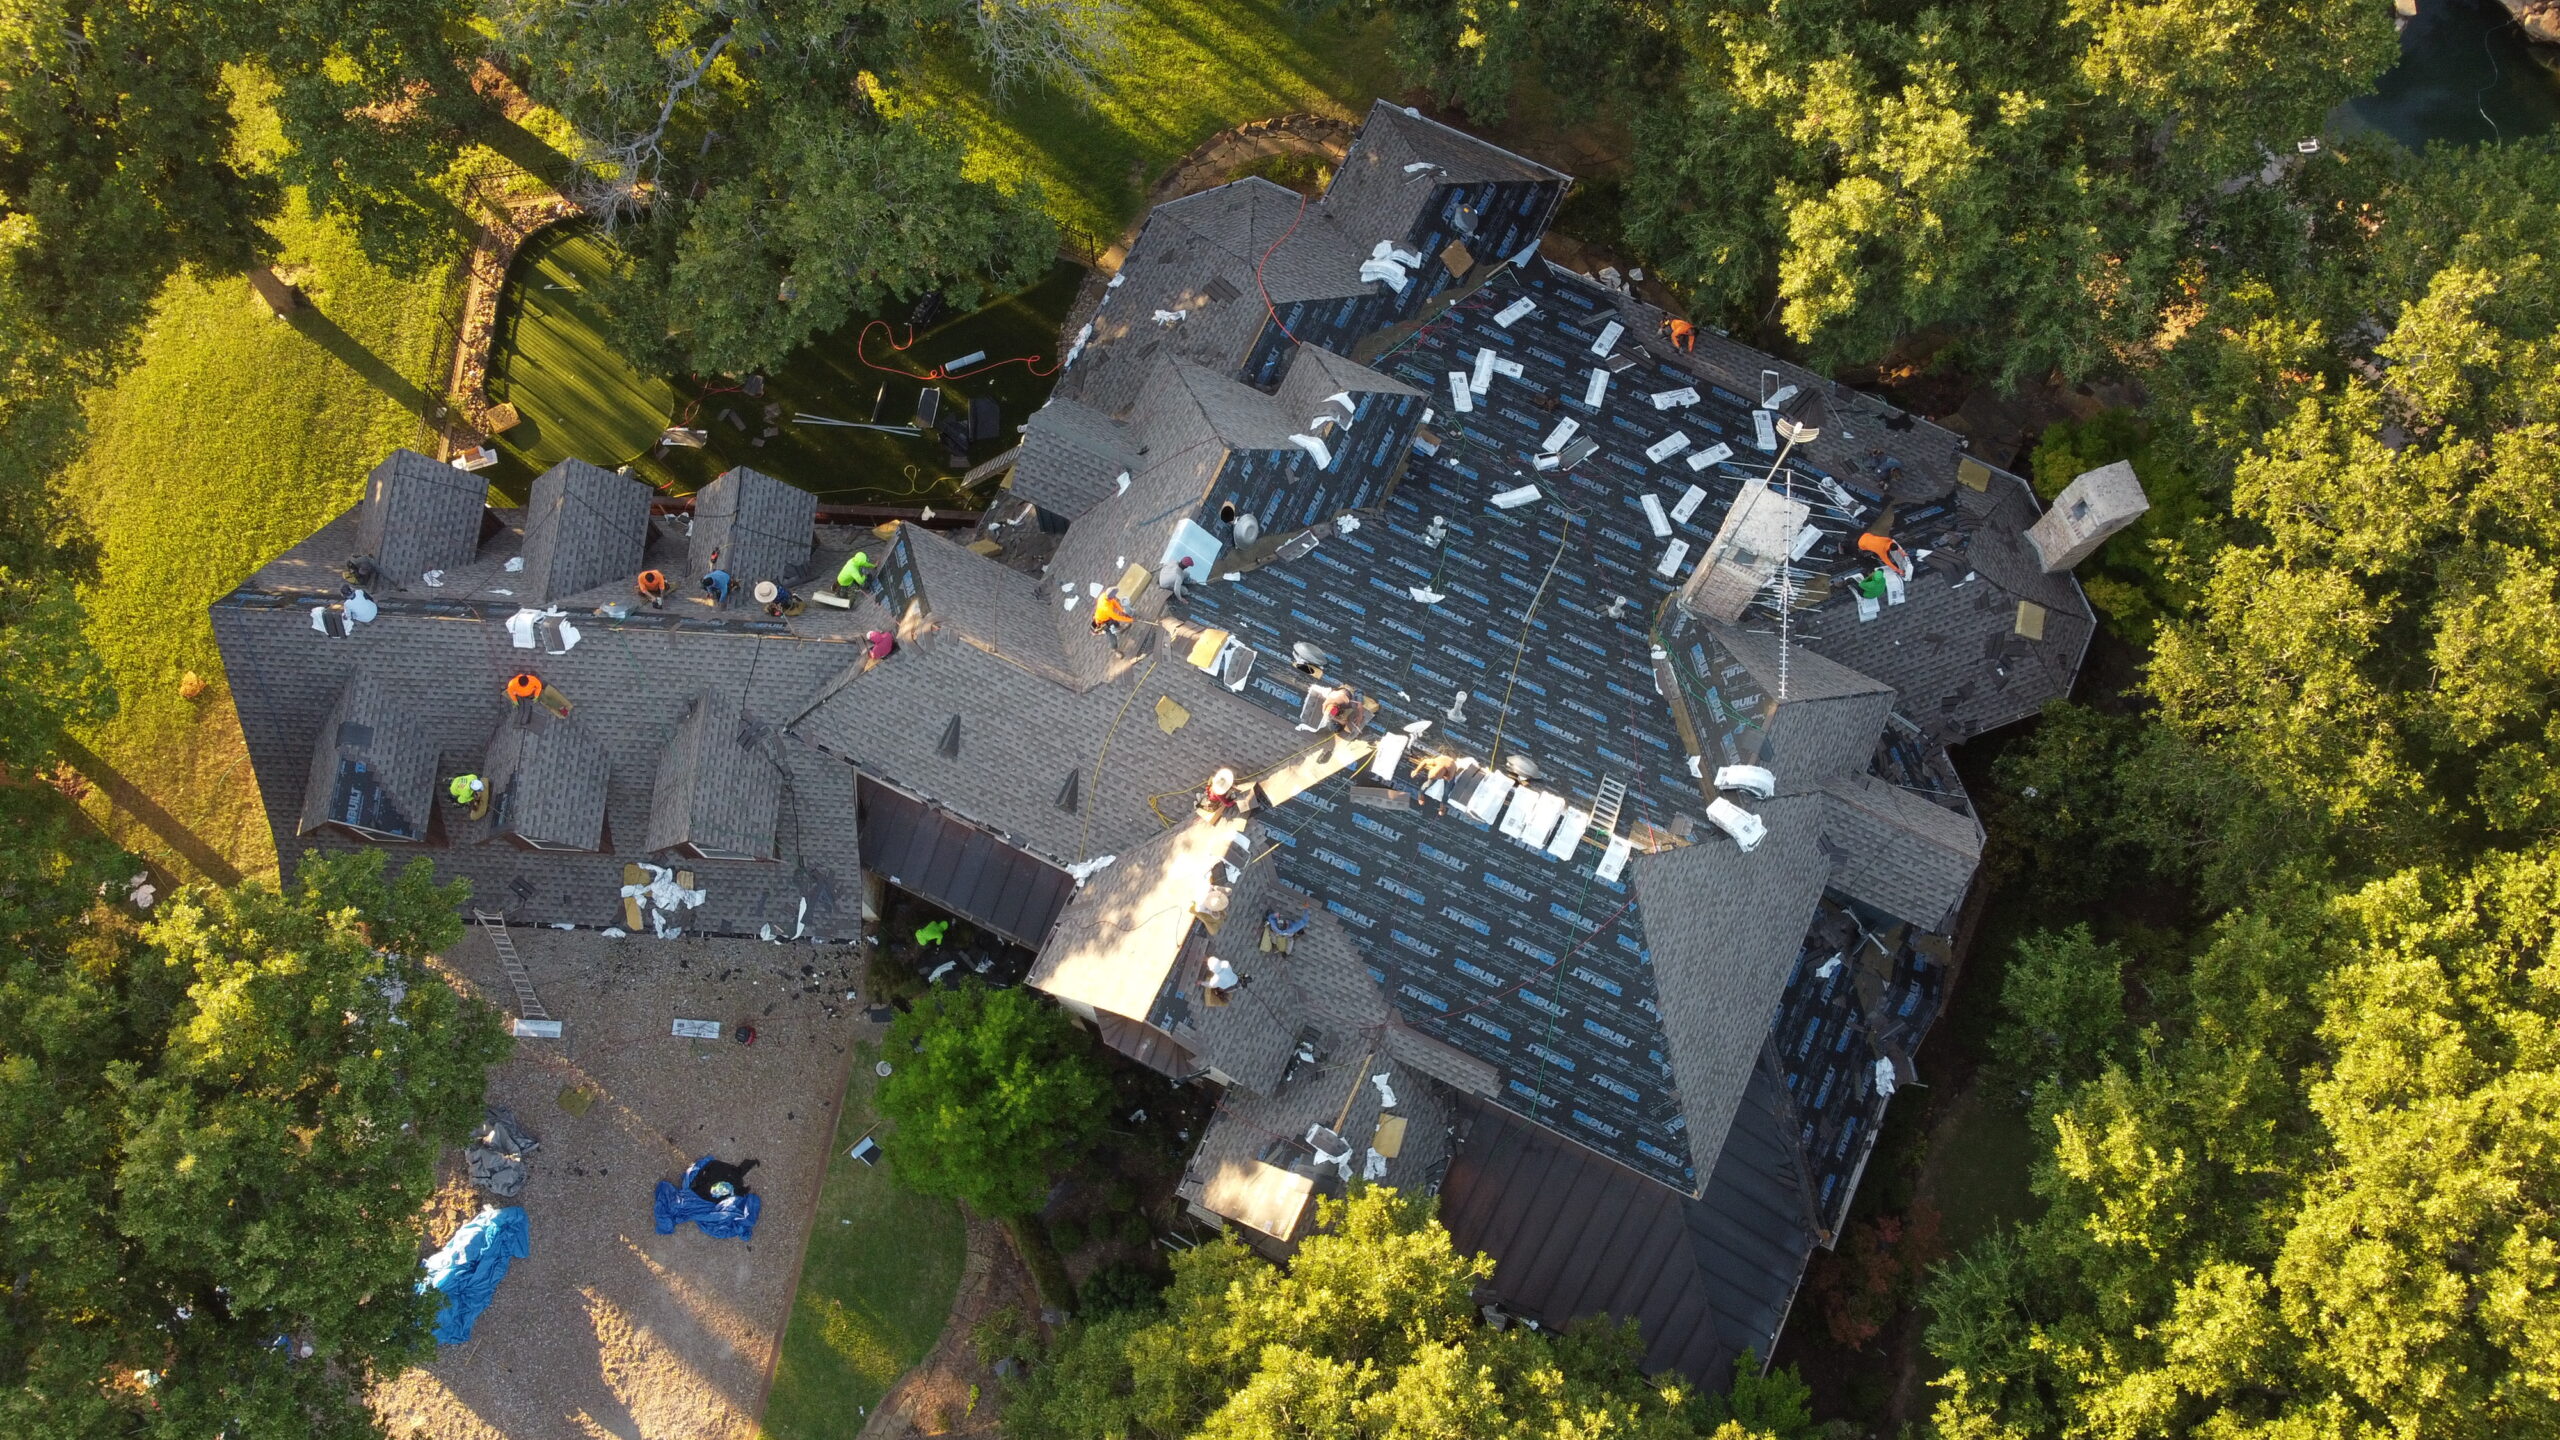
#5 “Removing the Old Roof”
The Roofing Owl crew carefully removes the old roofing materials down to the roof deck. This includes: - Shingles (or tiles/metal panels) - Underlayment (moisture barrier) - Flashing around chimneys, vents, and valleys - Old nails and debris Once the old materials are removed, the deck is inspected for signs of rot or structural damage. If necessary, damaged sections are replaced.
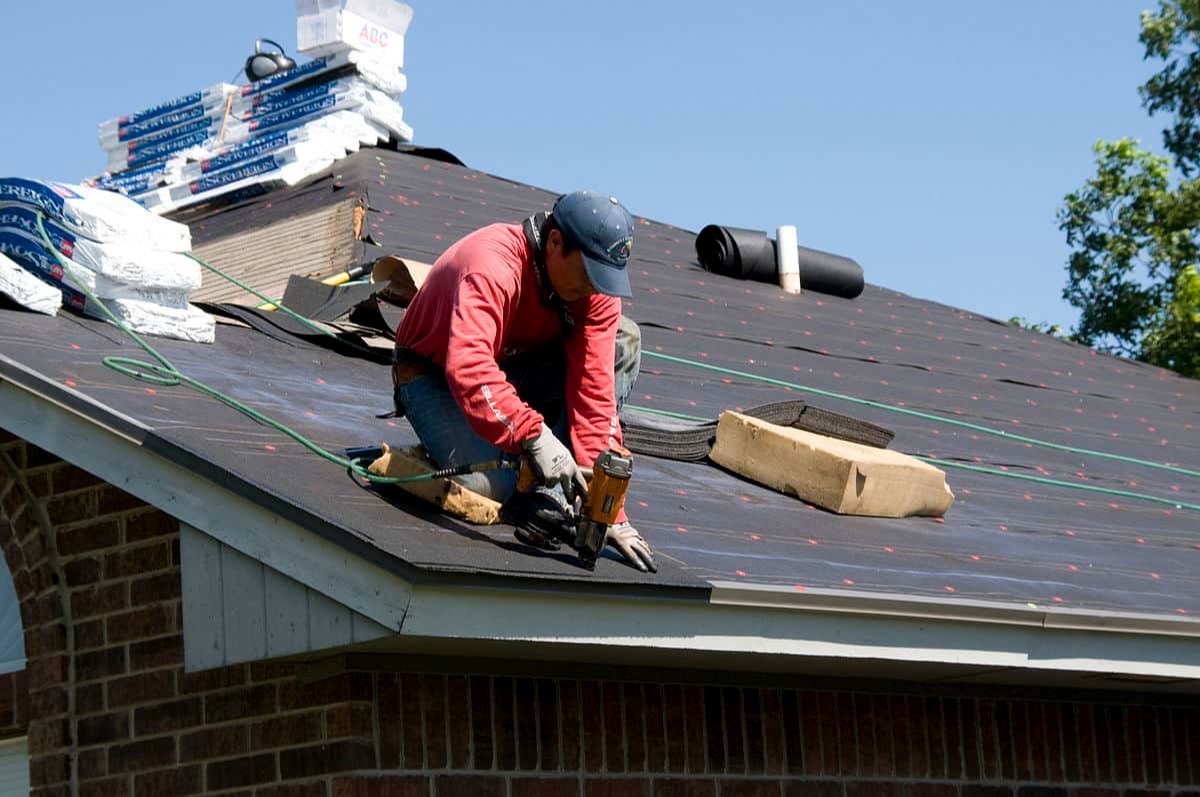
#6 “Installing the New Roofing System”
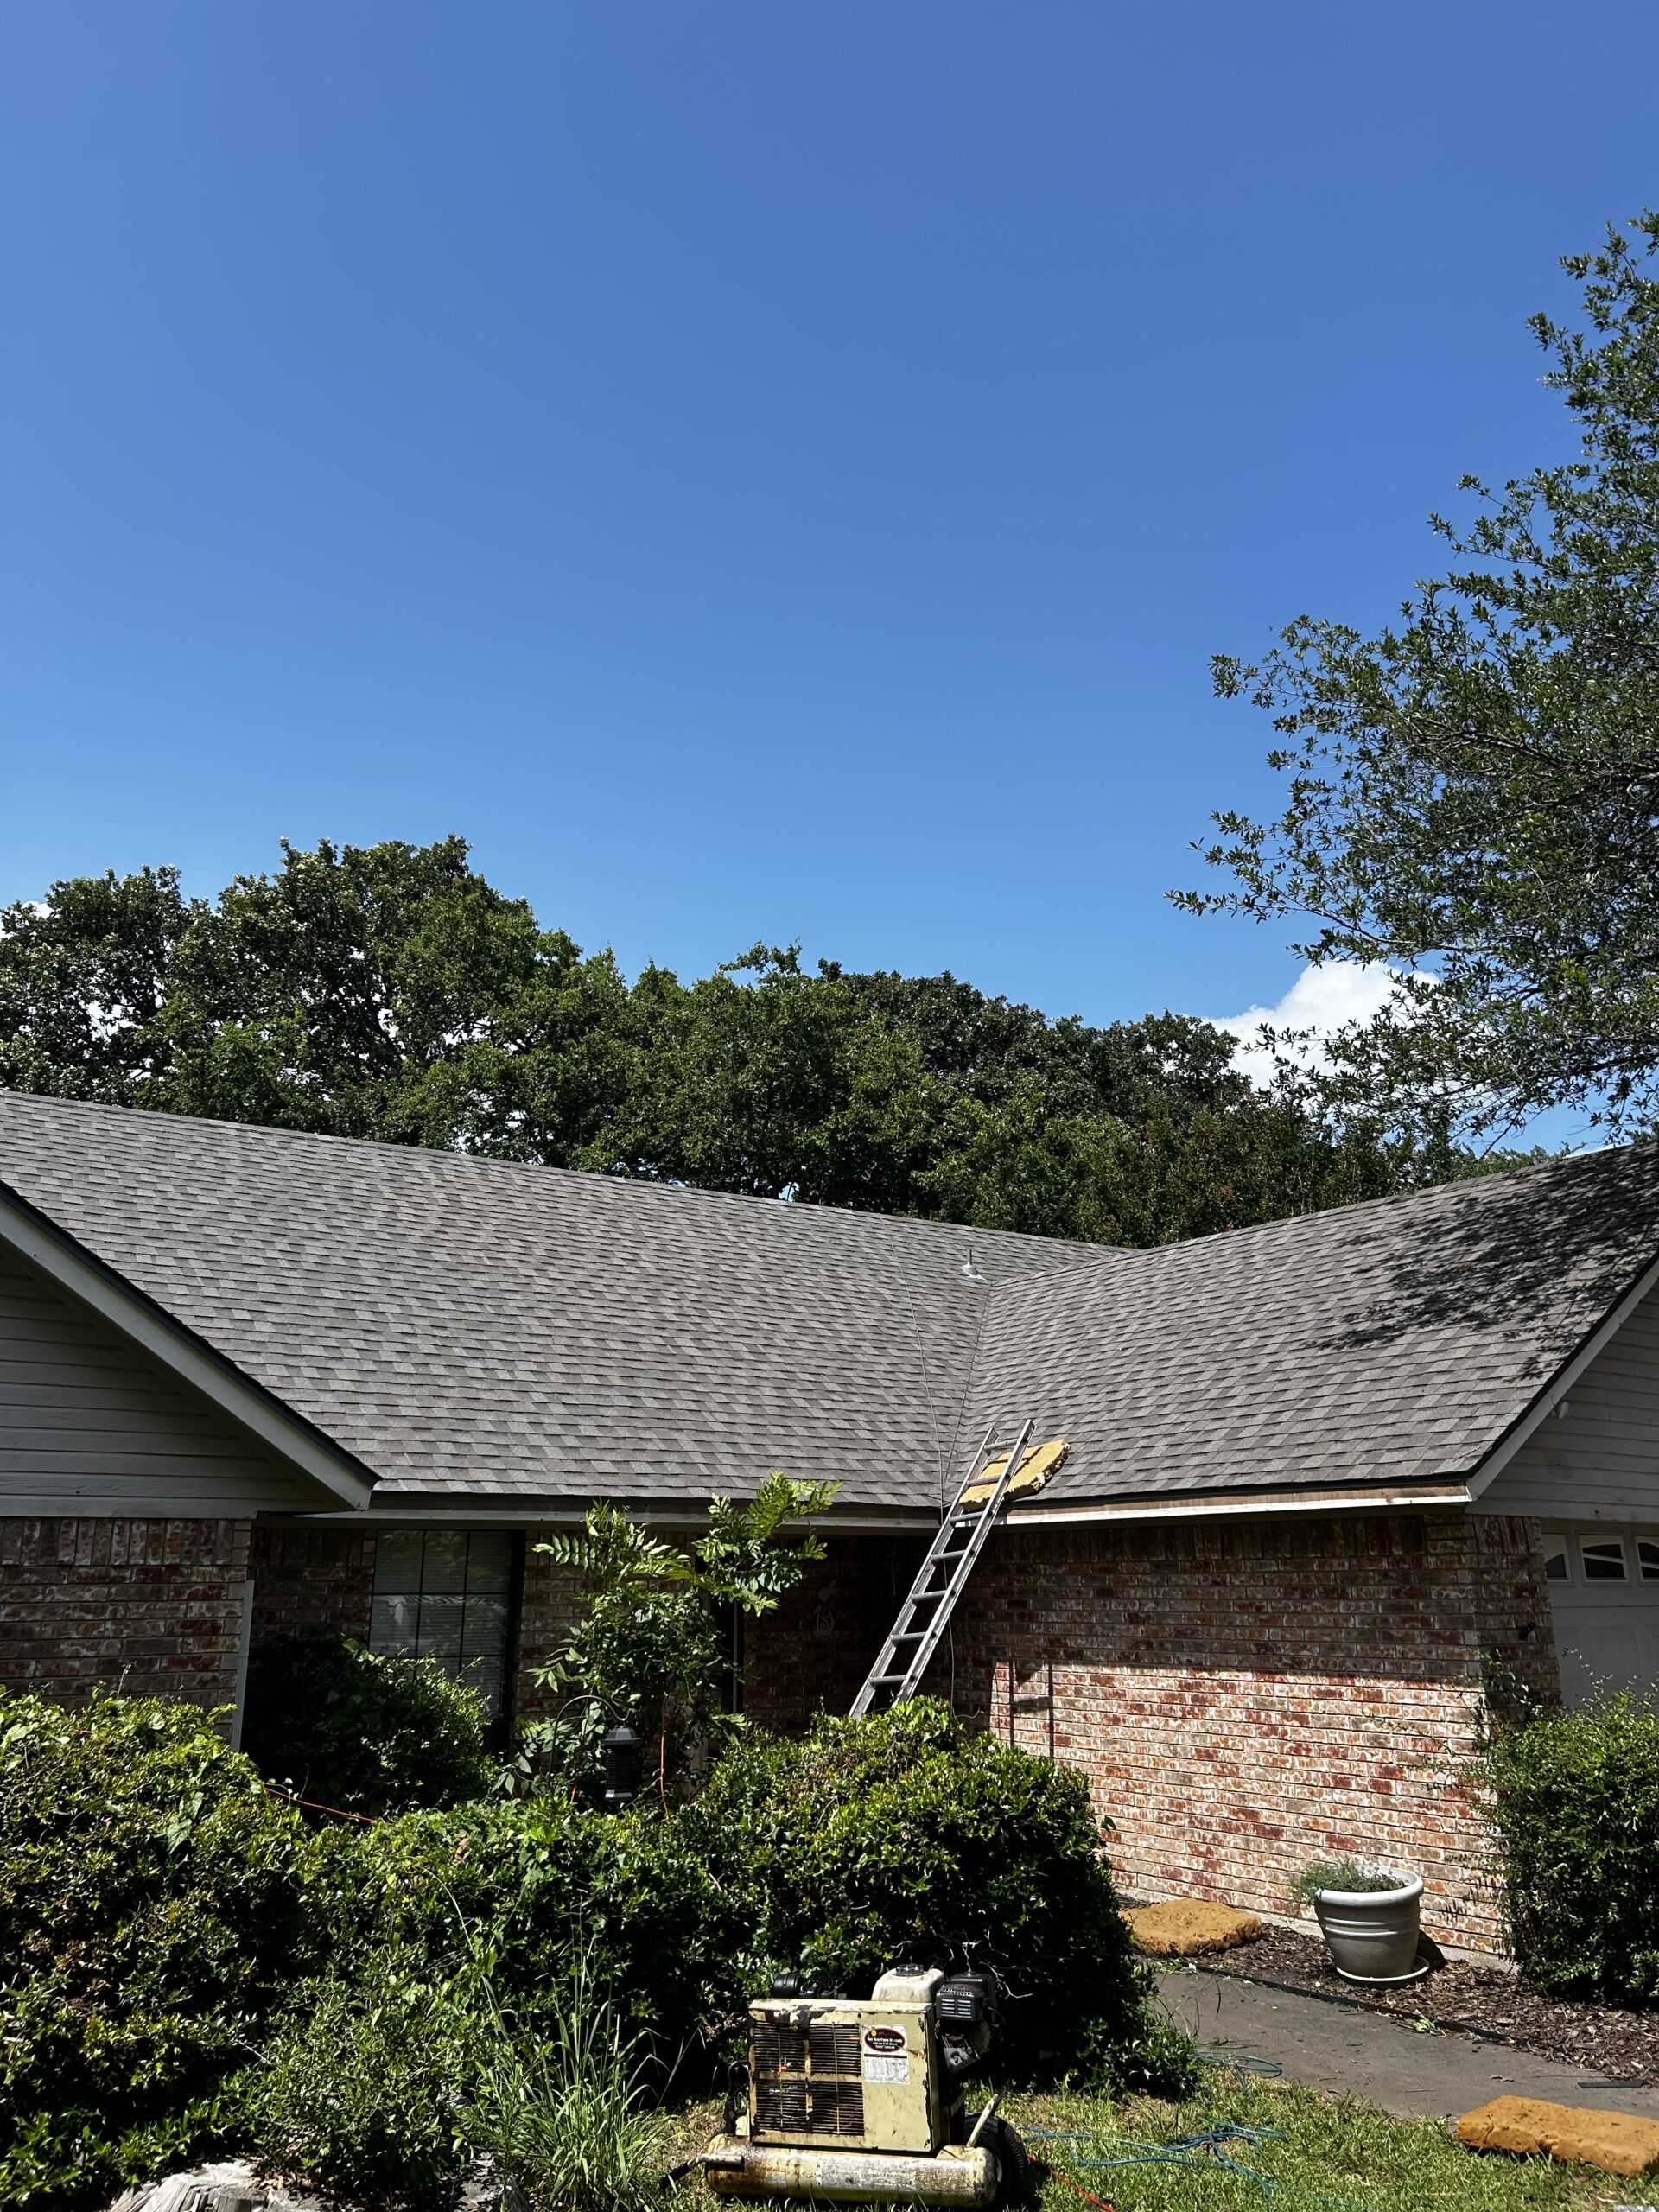
A new roof is more than just shingles—it consists of multiple layers designed to protect the home. Here’s the installation process: a) Installing the Drip Edge (if needed) A metal drip edge is placed along the edges of the roof to guide water away and prevent leaks. b) Laying the Underlayment A waterproof underlayment (felt paper or synthetic barrier) is rolled out over the deck to create a moisture barrier. c) Adding Flashing & Ventilation New flashing is installed around chimneys, vents, and valleys to prevent leaks. Proper ventilation is ensured to prevent heat and moisture buildup in the attic. d) Installing Shingles or Roofing Material Shingles, metal panels, or tiles are installed from the bottom of the roof upward, overlapping in a way that sheds water efficiently. Shingles are nailed down, while metal or tile roofing is secured with fasteners. e) Sealing & Waterproofing Once the roofing material is in place, ridge caps are installed, and all seams and nails are sealed with roofing cement or caulk to prevent leaks.